In this tutorial we’ll build a custom block for Gutenberg that will display a “post of the day” that gets randomly generated every 24 hours. It will be easily modifiable for custom post types, so that you can use it for “recipe of the day”, “featured course of the day”, “video of the day”, etc. depending on your site!
The idea is simply a block that you can use within the Gutenberg editor that will pick a random post every 24 hours to display automatically.
Through building this, we’ll cover creating a custom block plugin, interacting with the WordPress REST API, creating your own endpoint, and WordPress transients. This project is a quick way to touch on a bunch of advanced concepts and get your feet wet with some tricky areas of WordPress.
Project Setup
To kick off the project I have a starter repo available that takes care of some of the boilerplate code for registering a plugin and creating a block. Go ahead and download this and add it to the plugins directory of a fresh WordPress site, or one you don’t mind experimenting with. You can go ahead and activate the plugin as well.
You can find the starter code in this repo, or switch to the main branch to see the finished code.
In the index.php file you’ll see the following:
<?php
/**
 * Plugin Name:       FSD Daily Post
 * Plugin URI:        https://fullstackdigital.io
 * Description:       A daily featured post block.
 * Version:           1.0.0
 * Requires at least: 5.9
 * Requires PHP:      7.2
 * Author:            FSD
 * Text Domain:       fsd
 */

if(!function_exists('add_action')) {
  echo 'Hmmm... Nothing to see here...';
  exit;
}

// Setup
define('FSD_PLUGIN_DIR', plugin_dir_path(__FILE__));

// Includes
$rootFiles = glob(FSD_PLUGIN_DIR . 'includes/*.php');
$subdirectoryFiles = glob(FSD_PLUGIN_DIR . 'includes/**/*.php');
$allFiles = array_merge($rootFiles, $subdirectoryFiles);

foreach($allFiles as $filename) {
  include_once($filename);
}
I use this little snippet for all of my plugins. The first comment is a WordPress standard for plugins and is needed for them to properly install/activate. Then, by checking if the ‘add_action’ function exists we are making sure someone isn’t trying to run the php file outside of the WordPress context. Again, this is a fairly common best practice plugin developers use.
Next, under “setup” and “includes” I am using globs to grab all php files in the plugin directory, as well as any nested several folders deep, and loop through and include all of them once. This means we don’t have to worry about imports if we create a new file for a specific task, they’ll all just get picked up automatically.
Finally we just have the src -> blocks folder where we will build our block as well as an includes folder for our php functions we will need to define.
Getting Started
Let’s get started building the block!
First go ahead and make sure you run npm install to install the WordPress scripts package. Luckily, this is the only package we’ll need!
Next, create a directory under the src->blocks folder called daily-post. To create the block we’ll only need two files under this folder: index.js and block.json. Go ahead and create both.
For the block.json file we just need to spell out the properties of the block:
{
"$schema": "https://raw.githubusercontent.com/WordPress/gutenberg/trunk/schemas/json/block.json",
"apiVersion": 2,
"name": "fsd/daily-post",
"title": "Daily Post",
"icon": "calendar-alt",
"category": "text",
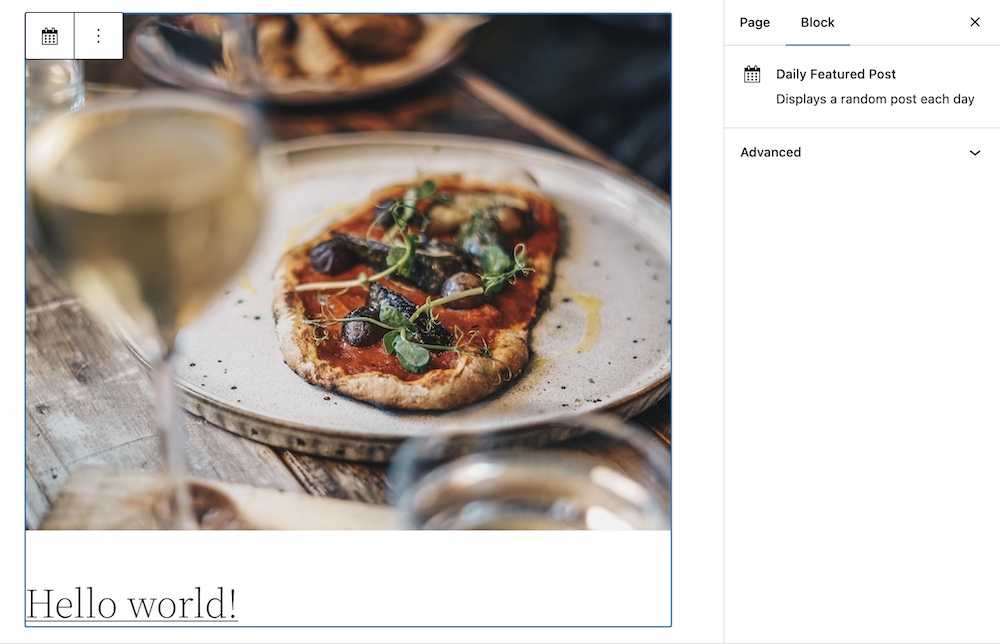
"description": "Displays a random post each day",
"textdomain": "fsd",
"editorScript": "file:./index.js"
}This is all pretty much boilerplate minus a title and description. You can read about all the properties available in the WordPress documentation, but for us this block is going to be pretty simple!
Now, jump into the index.js file and let’s add some basic setup:
import { registerBlockType } from '@wordpress/blocks'
import { useBlockProps } from '@wordpress/block-editor'

registerBlockType('fsd/daily-post', {
  edit() {
    const blockProps = useBlockProps();

    return (
      <div {...blockProps}>
        <a href="#">
          <img src="" />
          <h3>Placeholder Title</h3>
        </a>
      </div>
    );
  },
});
Finally, we just need to actually register our block. Hop into the main index.php file and add the following:
// Hooks

add_action('init', 'fsd_register_blocks');

function fsd_register_blocks() {
  register_block_type(
    FSD_PLUGIN_DIR . 'build/blocks/' . $block['name'],
    ['render_callback' => 'fsd_daily_post_render_cb']
  );
}
We are making a dynamic block, so we call register_block_type and pass in the path to our build directory where the final block will be compiled. As a second argument we pass an options array where we define the name of a PHP function we will create later that returns the markup to be displayed on the front end.
Now we have the basic scaffolding for our block setup and we can jump into the real functionality. First, let’s figure out how to pick a featured post and have it reset every 24 hours.
Understanding Transients
WordPress provides us with a tool called transients. In many ways a transient is like a server-side cookie. You can store a piece of data in the database, but attached to it is an expiration and WordPress will automatically delete from the database once that time passes.
This is perfect for our use case. We can save a daily post to a transient, but add a 24 hour expiration, at which time we will randomly select a new post to feature and save it instead.
First, I’m going to add a file to our includes folder called “generate-daily-post.php” this will contain our function for grabbing a random post and setting it to a transient:
<?php

function fsd_generate_daily_post(){

  global  $wpdb;

  $id = $wpdb->get_var(
    "SELECT ID FROM {$wpdb->posts}
    WHERE post_status='publish' AND post_type='post'
    ORDER BY rand() LIMIT 1"
  );

  set_transient( 'fsd_daily_post_id', $id, DAY_IN_SECONDS);

  return $id;
}
The set_transient function takes three arguments: the key to save it under, the value to save, and the time to expire in seconds. You could calculate this, but WordPress provides some handy constants including on that is just one day.
Now, we need a way to get the daily post from our block’s javascript file so we can display it in the editor. The best way to accomplish this is a custom REST API endpoint.
We’ll create an endpoint that will retrieve the post saved in the transient, or if there is none, go ahead and call the above function to set the daily post and return it.
Creating the Endpoint
First, let’s make a new file in our includes folder call “rest-api.php”. We’ll put all the logic for the endpoint in this file:
<?php

add_action('rest_api_init', 'fsd_rest_api_init');

function fsd_rest_api_init(){
  register_rest_route( 'fsd/v1', '/daily-post', array(
    'methods' => WP_REST_Server::READABLE,
    'callback' => 'fsd_rest_daily_post_handler', // We'll create this in a moment
    'permission_callback' => '__return_true'
  ), false );
}
The above code demonstrates how to add a REST endpoint. We use add_action and hook into the ‘rest_api_init’ hook.
Then we can register the REST route and provide three arguments: the namespace and version as a string, then a string for the actual endpoint, and finally an array of settings.
For clarity the final URL of our endpoint will look like this:
https://example.com/wp-json/fsd/v1/daily-postWithin the settings array we give it a callback handler function name that we will create in just a second. In addition, we can set the permission callback to a function to check if a user is an admin or something like that, but for our use case we’ll just use the special __return_true function since we want this to be public.
Under ‘methods’ you could just put “GET” since this is a simple GET request returning a post, but WordPress recommends using their own method classes to describe the endpoint.
Handler Function
Now we can create the handler function just below all this:
function fsd_rest_daily_post_handler(){
  $response = [
    "url" => "",
    "title" => "",
    "img" => "",
  ];

  $id = get_transient( 'fsd_daily_post_id' );

  if(!$id){
    $id = fsd_generate_daily_post();
  }

  $response["url"] = get_permalink( $id );
  $response["title"] = get_the_title( $id );
  $response["img"] = get_the_post_thumbnail_url( $id, 'full' );

  return $response;
}
This is a pretty simple function. We just create a response object, then we check if the transient exists, and if not we use the function we created earlier to fetch a random post and save it to the transient. Finally, we take the post and grab the information we need to display on the front end of the site, attach it to the response, and return it.
At this point if you’ve already activate the plugin, you could navigate to the url show above and replace “example.com” with your own url and you should see a json response from a random post!

Fetching the Post of the Day from our Block
Let’s jump back to our index.js file for our custom block. We’ll import a couple of things we need:
- Spinner – It will take a moment to load the post, so we’ll show a spinner while its fetching
- apiFetch – We could use the default browser based fetch method, but WordPress makes it easier with this package
- useState and useEffect – these React methods will let us actually hit the endpoint when we load the editor and store the response
import { Spinner } from '@wordpress/components'
import apiFetch from '@wordpress/api-fetch'
import {useState, useEffect} from '@wordpress/element'
First let’s initialize a piece of state for when the block first loads. We’ll make an object with an isLoading property set to true (this will help when we display the spinner) and then just set the other properties to null.
registerBlockType('fsd/daily-post', {
	edit() {
    const blockProps = useBlockProps();

    const [post, setPost] = useState({
      isLoading: true,
      url: null,
      img: null,
      title: null
    })

    return //...
Next, we will create a useEffect function. We provide it a callback, and an empty array so it only fires when you first load the block.
Within the useEffect we’ll make an async function for actually sending off the request and call it below. This is where the apiFetch package comes in. We don’t have to provide the full url, just our namespace, version, and endpoint. Then we can pass an array of options as well.
    useEffect(() => {

      const getPost = async () => {
        const response = await apiFetch({
          path: 'fsd/v1/daily-post'
        });

        setPost({
          isLoading: false,
          ...response
        })
      }

      getPost()

    }, [])

return //...
Once the response comes back we update our state with the post data and set our loading option to false so that we turn off the spinner and display our post data.
Using the Post Data in the Template
The last step is just to use our state values in the return statement. We can add a ternary operator to check the isLoading and display a spinner if it is, and the post info otherwise:
return (
<div {...blockProps}>
{post.isLoading ? (
<Spinner />
) : (
<a href={post.url}>
<img src={post.img} />
<h3>{post.title}</h3>
</a>
)}
</div>
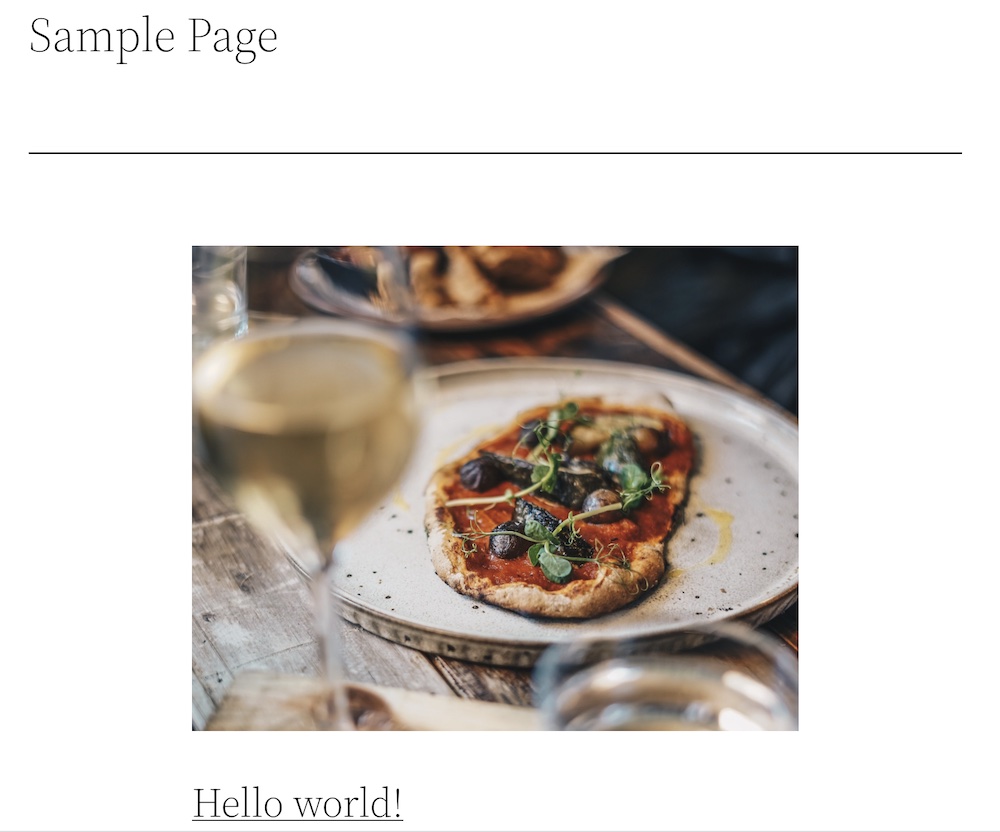
);Awesome! Now if you just run npm run start to compile the block you can then jump into editing a page in the admin and add our block. After a second, you should see it display the title and image of a random post.
If you refresh it will be the same post every time because it is pulling from the transient value, but if you check the next day it will update to something new!
We have one last step which is creating the front end display template for site visitors. This is the easy part!
Creating the PHP Render Template
Our block is almost done! let’s jump into our daily-post-template.php file and finish it out.
If you’ve never made a dynamic block before this might seem a little strange, but it’s very similar to how we created our endpoint. The idea is we are creating a PHP template that will use the data from our block to build out html for the front end.
This lets us perform dynamic logic and use functions we are familiar with from traditional WordPress templates.
<?php


function fsd_daily_post_render_cb(){

  $id = get_transient( 'fsd_daily_post_id' );

  if(!$id){
    $id = fsd_generate_daily_post();
  }

  ob_start(); ?>

  <div class="wp-block-fsd-daily-post">
    <a href="<?php the_permalink( $id ); ?>">
      <img src="<?php echo get_the_post_thumbnail_url( $id, 'full' ); ?>" alt="">
      <h3><?php echo get_the_title($id) ?></h3>
    </a>
  </div>

  <?php return ob_get_clean();
}
This should look very familiar. Similar to our endpoint, we just check for a transient value and if there is not one go ahead and generate a new one.
Then we just have an object buffer to let us drop into html where we are outputting the same basic markup that we just used in the index.js file, but of course using PHP template tags for the dynamic parts instead of javascript state.
Conclusion
That’s it! Our block is complete!
You can add your own styling and even return more data from the featured post to build it out more if you’d like. If you want to use this with a custom post type, all you have to do is change the ‘post_type’ argument in the generate_daily_post function we made and you’re good to go!
Want to take this a little further? Part 2 of this build allows us to enter a desired number of posts to feature, so could have a featured grid that swaps out every day. The same concepts would allow for filtering by a taxonomy and more as well!
Take a break, but if you’re feeling adventurous go ahead and jump into Part 2 of the custom block build when you are ready!

Leave a Reply