Auth0 is the quickest way to set up a full authentication system for your Next.js Application. It offers a bunch of authentication options including email/password, Google, Github, and more with minimal configuration.
In this guide we’ll walk through exactly how to set it up for development, as well as how to deploy your app.
Let’s jump right in!
Create your Auth0 account
Before we hop into coding in Next.js, head over to Auth0 and create an account.
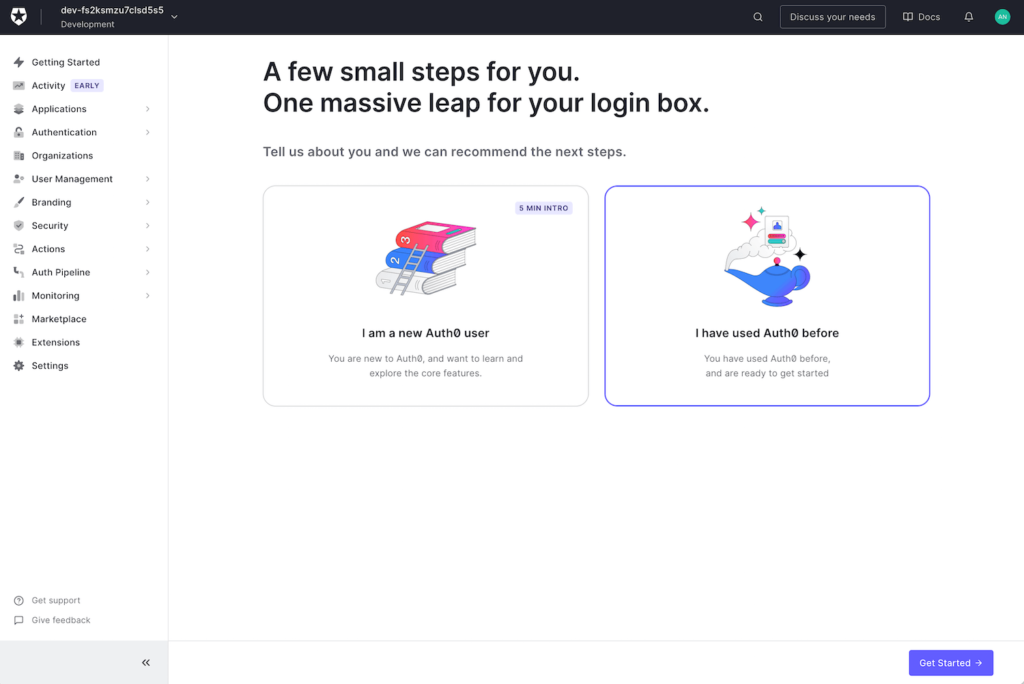
As you set up account, Auth0 will create a starter project or “tenant” as Auth0 refers to it. You can think of the tenant as the overall project environment. You can the add apps to this that could represent a website, iOS app, etc.
When you first sign up you’ll be greeted with the option to take a guided 5 minute walkthrough if you’ve never used Auth0 before. Feel free to opt in if you’d like, but we’ll go through setup ourselves below so you can click skip.
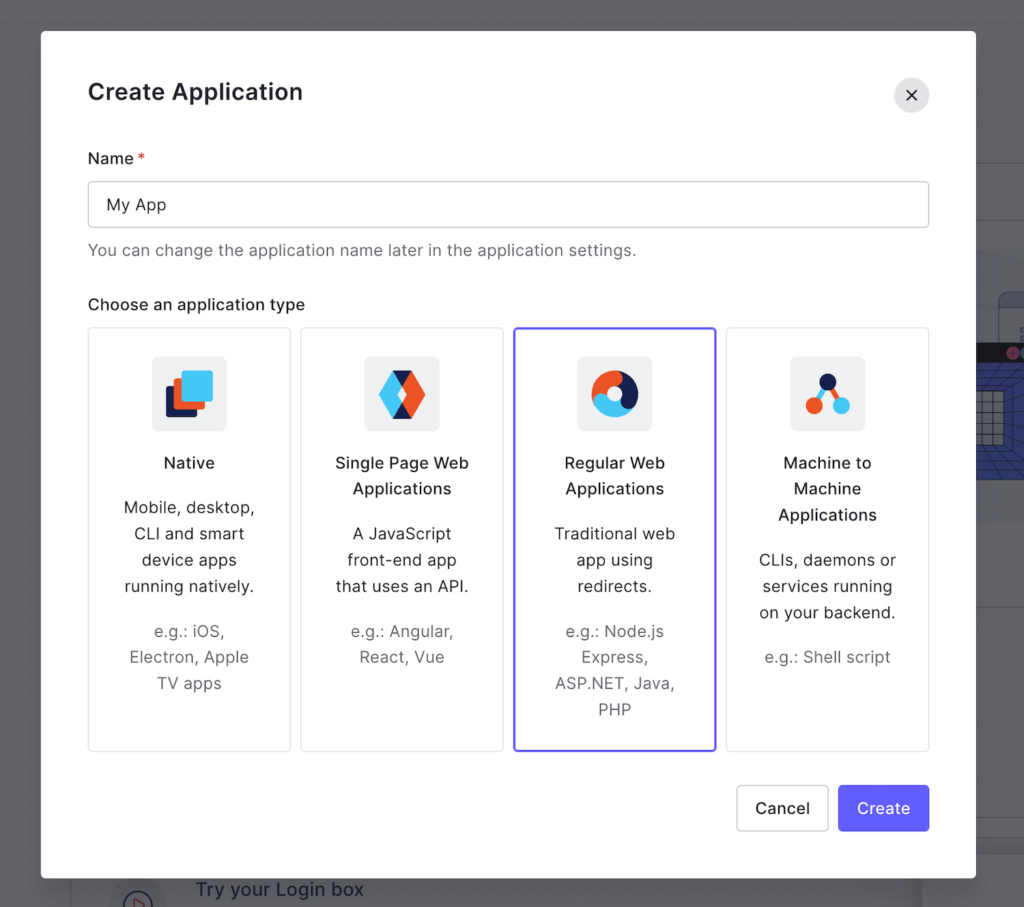
You’ll then be taken to your dashboard where the first step is to go ahead and create an application which will represent our Next.js App. Go ahead and click the “create application” button.

When you create an application Auth0 will give you options about the type of application you are creating. We will just select a regular web app and opt to set it up ourselves.
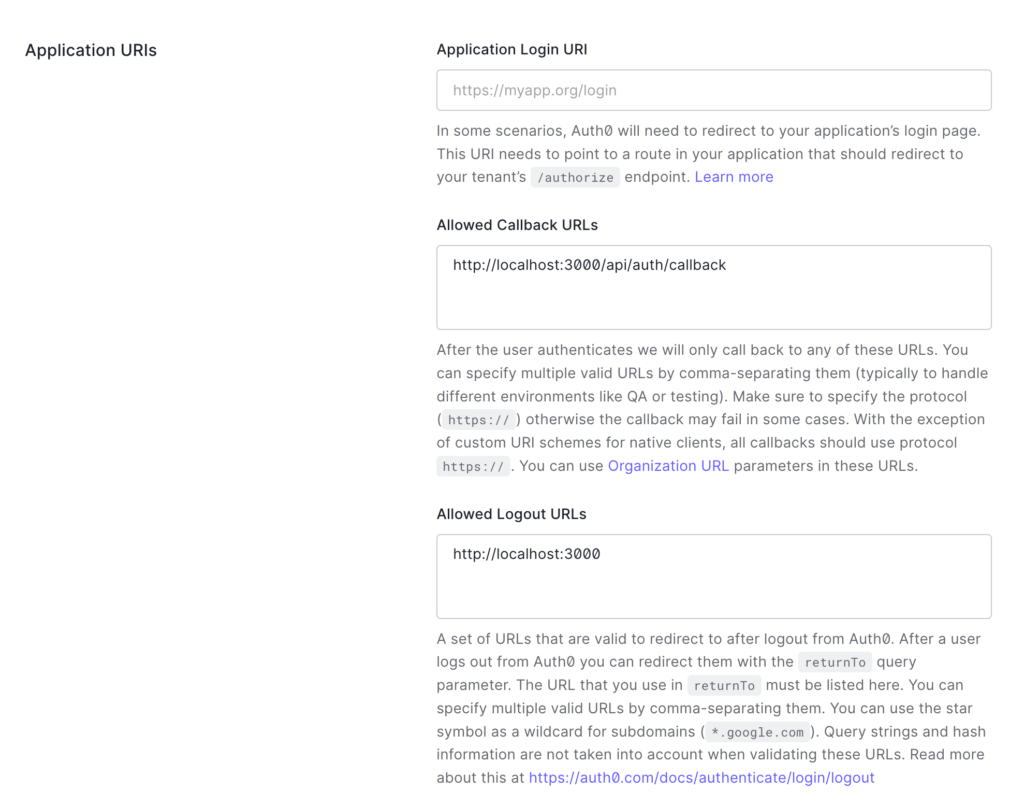
Once your app is created we’ll need to fill out some settings. We need to provide allowed callback and allowed login URLs. This tells Auth0 where it is allowed to redirect users. For now we’ll add http://localhost:3000. You’ll add your actual application domain when you push live, but this will be done in a separate environment which will be explained at the end of this guide.
Setting up Next.js Authentication
Let’s step away from Auth0 for a minute and set up our Next.js project. If you are starting from scratch go ahead and run:
npx create-next-appFor now, Auth0 recommends not using the experimental Next.js app directory since it is still relatively beta, but in the future this will be fully supported as well.
Let’s install the Auth0 SDK:
npm install @auth0/nextjs-auth0Now that we have auth0 in our project the first step is to go ahead and create a .env.local file. This is where we will store our secret key and options related to our Auth0 account. The setup will look like this:
AUTH0_SECRET='use [openssl rand -hex 32] to generate a 32 bytes value'
AUTH0_BASE_URL='http://localhost:3000'
AUTH0_ISSUER_BASE_URL='https://<Domain from auth0 settings>'
AUTH0_CLIENT_ID='<client ID from auth0 settings>'
AUTH0_CLIENT_SECRET='<client secret from auth0 settings>'
The Auth0_secret needs to be a random string. You could just type in some characters, but it is best to generate a secure random string using the command provided.
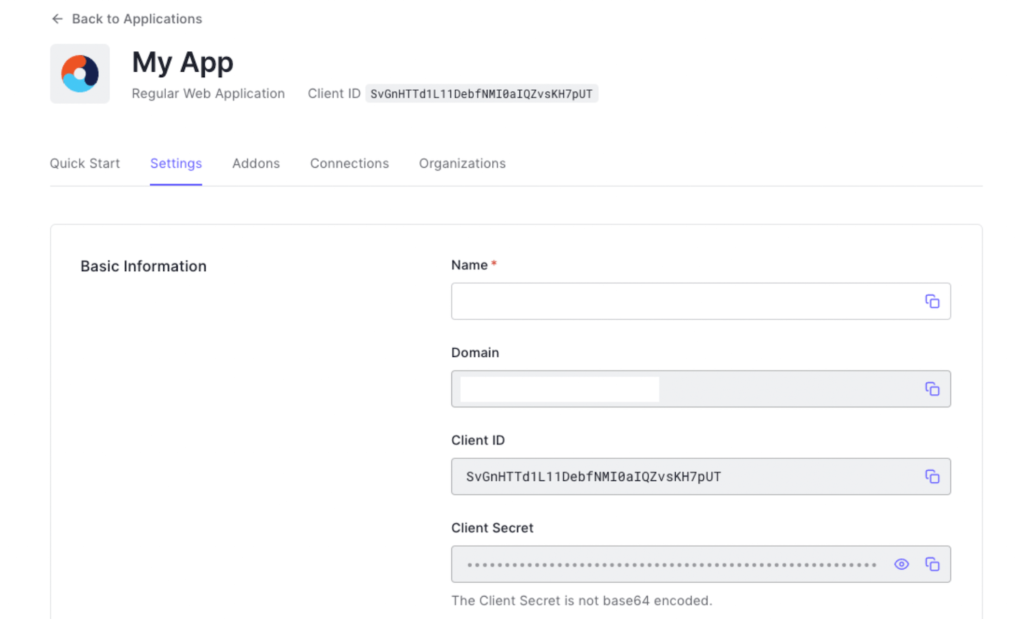
The base url, ID, and secret can all be found in your app settings:
Creating Our Auth0 Dynamic Route
The way Auth0 works is we create a dynamic API route where all login, signup, and signout requests are routed, and it handles the rest!
Look inside you pages/api directory and create a new directory called “auth”. Now inside here we can create our special file called [...auth0].js. The full path will be: pages/api/auth/[...auth0].js
Inside this dynamic page all we need is the following:
import { handleAuth } from '@auth0/nextjs-auth0';

export default handleAuth();
Just this little bit of code gives us three critical API endpoints:
/api/auth/login– Presents the user with our login window/api/auth/logout– Logs the user out immediately/api/auth/callback– Redirects the user after a login event
We can make a small tweak to make it even better though by doing the following:
import { handleAuth, handleLogin } from '@auth0/nextjs-auth0';

export default handleAuth({
  signup: handleLogin({ authorizationParams: { screen_hint: 'signup' } })
});
This adds another route at /api/auth/signup that directs straight to the signup form instead of login.
Add our User Provider
To expose user information throughout the app we need to wrap our _app.js file with the User Provider just like we would when using the Context API:
import React from 'react';
import { UserProvider } from '@auth0/nextjs-auth0/client';

export default function App({ Component, pageProps }) {
  return (
    <UserProvider>
      <Component {...pageProps} />
    </UserProvider>
  );
}
Using the Auth0 Routes
We can now use the routes that Auth0 provides for us. You can go ahead and add three links to your home page to test the functionality:
<a href="/api/auth/signup">Signup</a>
<a href="/api/auth/login">Login</a>
<a href="/api/auth/logout">Logout</a>
Believe it our not, its as simple as that!
Getting User Information
If we want to display user information we can use the useUser() hook provided by Auth0.
import React from 'react';
import { useUser } from '@auth0/nextjs-auth0/client';

export default function Profile() {
  const { user, error, isLoading } = useUser();

  if (isLoading) return <div>Loading...</div>;
  if (error) return <div>{error.message}</div>;

  return (
    user ? (
      <div>
        <img src={user.picture} alt={user.name} />
        <h2>{user.name}</h2>
        <p>{user.email}</p>
      </div>
    ) : (
       <div>Hello, Guest</div>
    )
  );
}
The picture uses Gravatar so we will need to add domain support for this in our next.config.js file.
/** @type {import('next').NextConfig} */
const nextConfig = {
  reactStrictMode: true,
  images: {
    domains: [
      "s.gravatar.com"
    ]
  }

}

module.exports = nextConfig
Protecting Pages with Auth0
The main reason for using Authentication is for permissions, so let’s explore how you can protect content for only logged in users in the next sections.
Protecting Server-Side Pages
To protect server-side pages we can use the withPageAuthRequired function and feed it to getServerSideProps. This will automatically pass user information as props into our component:
import { withPageAuthRequired } from '@auth0/nextjs-auth0';

export default function Profile({ user }) {
  return <div>Hello {user.name}</div>;
}

export const getServerSideProps = withPageAuthRequired();
If you need to pass additional props, you can actually pass an object with a getServerSideProps function in as well:
export const getServerSideProps = withPageAuthRequired({

  async getServerSideProps(ctx){
    const {user} = await getSession(ctx.req, ctx.res)

    // connect to DB
    const client = await clientPromise;
    const db = client.db("database")

    const post = await db.collection("posts").findOne({
      _id: new ObjectId(ctx.params.id),
      userAuth0Id: user.sub
    })

    if(!post){
      return {
        redirect: {
          destination: '/',
          permanent: false
        }
      }
    }

    return {
      props : {
        post: post.data
      }
    }
  }

})
You can see here we are getting user info within our function and then hitting the database to grab some additional info to pass as props. Auth0 adds a “sub” property to any users that can act as an ID or primary key.
Protecting a Client Side Page
For client side pages the process is even easier. We can just wrap the component itself:
import { withPageAuthRequired } from '@auth0/nextjs-auth0/client';

export default withPageAuthRequired(function Profile({ user }) {
  return <div>Hello {user.name}</div>;
});
Again, the withPageAuthRequired both protects the page, and passes user data down as props.
Protecting an API Route
API routes work much the same way as a client page. You just wrap the handler function.
The only difference is rather than props, you have to use the getSession() hook to grab the user information passing in the request and response objects:
import { withApiAuthRequired, getSession } from '@auth0/nextjs-auth0';

export default withApiAuthRequired(async function protectedApiRoute(req, res) {
  const { user } = await getSession(req, res);
  res.json({ data: 'This is protected', id: user.sub });
});
Going Live With Auth0
Finally, when you are ready to publish your application to the world you will need to make a few tweaks to our setup.
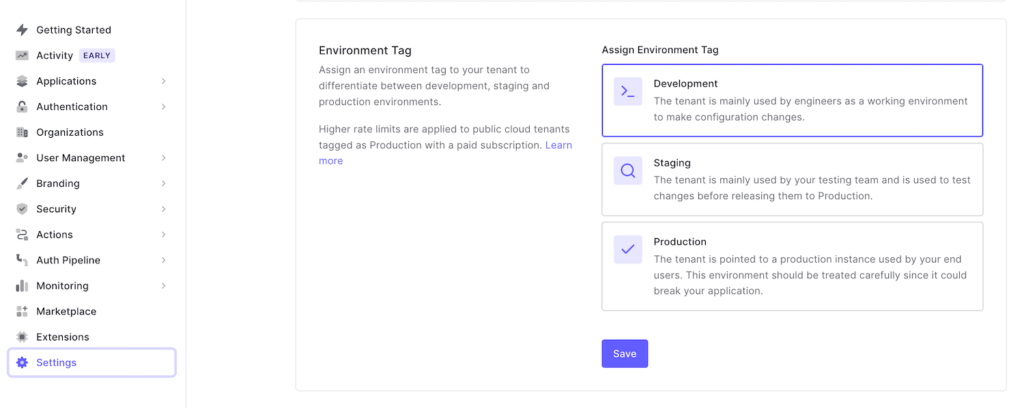
It’s usually best to create a whole separate project and environment within your Auth0 account and label it as production. This way users don’t get co-mingled between your dev and real application.
Create a new tenant and go into the settings and switch the environment from “Development” to “Production”.
You’ll then follow the same setup steps for an application within the production environment tenant, but instead of using localhost and putting the values in a .env.local file, you’ll use your production domain for the allowed URLs and add the Client ID and Secret to your hosting platforms environment variables setup.
Vercel makes this super easy, as do most JAMstack enabled hosting providers. Make sure to use your actual URL and not localhost:3000 for the AUTH0_BASE_URL value as well.
Wrap up
Auth0 makes getting up and running with an authentication based program just about as easy as it can be.
If you’re looking for more control check out my write up on using NextAuth with MongoDB. This is a bit more advanced, but allows you to create your own forms and have more control over the signup/login flows.
For most projects I would recommend sticking with Auth0, however. It’s fast, easy, and ready to scale if you end up sharing your application with the world.

Leave a Reply