The WordPress block editor has had somewhat rocky adoption over the last several years, but once you learn to unlock the power of creating your own custom block libraries, it is an amazing tool for creating really slick editor experiences.
In this multipart series, I’ll be diving deep into the custom block creation. I’ll start with basic static blocks and move into progressively complex topics like nested dynamic blocks, block context, and using metadata with blocks.
We’ll cover both building with only native React powered blocks, as well as using ACF blocks to speed up workflow, and the pros/cons of each.
If you’re interested in advancing your knowledge of custom block creation in WordPress, I highly suggest you sign up for updates to be notified as new modules of the series get released over the next few weeks.
Course prerequisites
This course will start from the beginning with respect to blocks, so you do not need any prior knowledge of block development.
You should have working PHP and javascript skills since we will be using both these languages to craft our blocks. We will not be covering fundamentals of these languages like syntax.
To make the most of this course, some experience or familiarity with React would also be very helpful. Blocks are primarily built using React.js and we will not cover the fundamentals of React in depth.
Additionally, having some experience as an end user of the block editor is helpful, so that you understand the context of why and how our blocks will be used by content editors.
Setting up a local development environment for block creation
In the very next post I’ll jump into creating our first static block.
To prepare to follow along you’ll need a local WordPress install with your choice of either the default 2023 theme or the Frost theme from WP Engine. Both of these are nice basic themes that do not add a bunch of bloat and will allow us to test and work with our blocks in a nice sample environment.
If you already have a local WordPress development setup with MAMP, Docker, or any other tool, feel free to use that.
If you need to set up an environment, the quickest and easiest way is to use Local by WP Engine. You can go ahead and grab the download here. The free version is totally fine for our purposes.
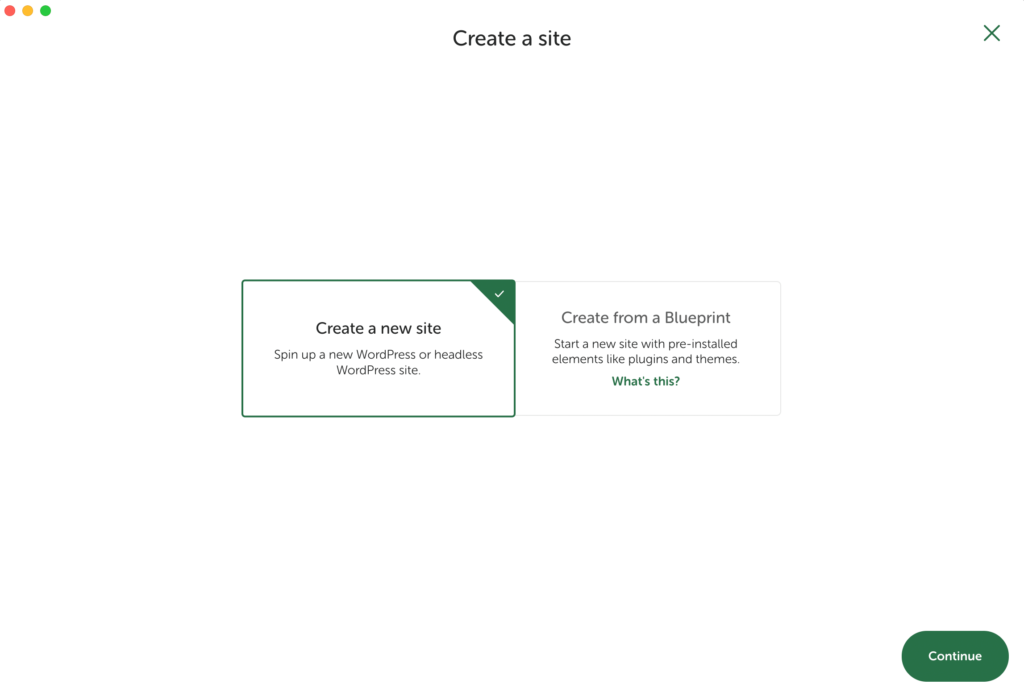
Once it’s installed go ahead and open it up and follow the prompts to create a new site:
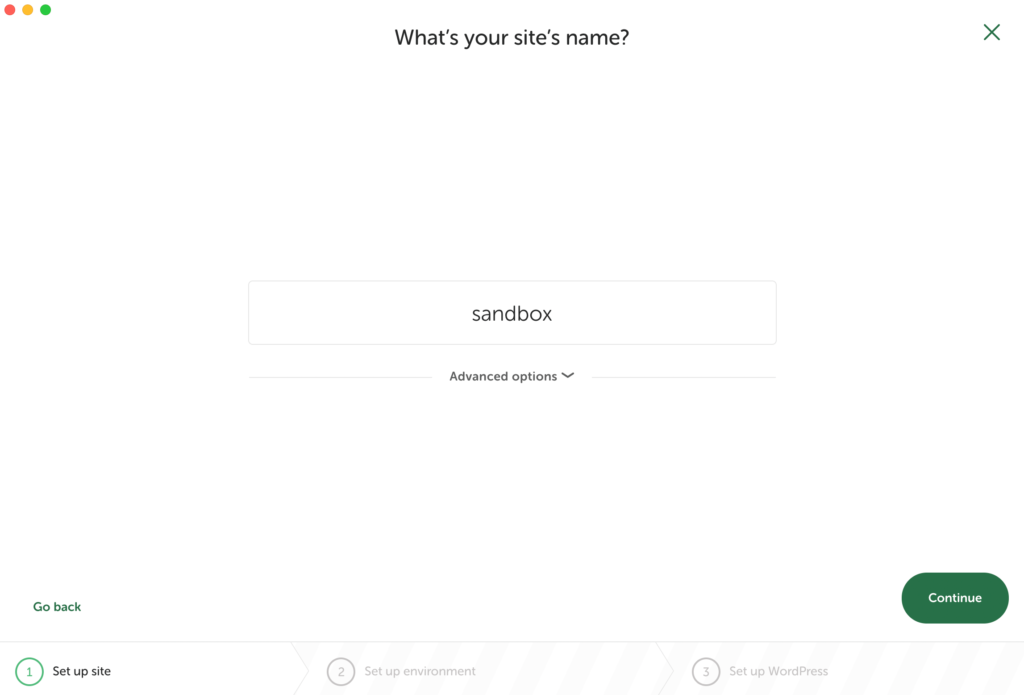
You can ignore the advanced options dropdown and just enter a site name:
Similarly “preferred” setup is perfect for our use case, no need to customize:

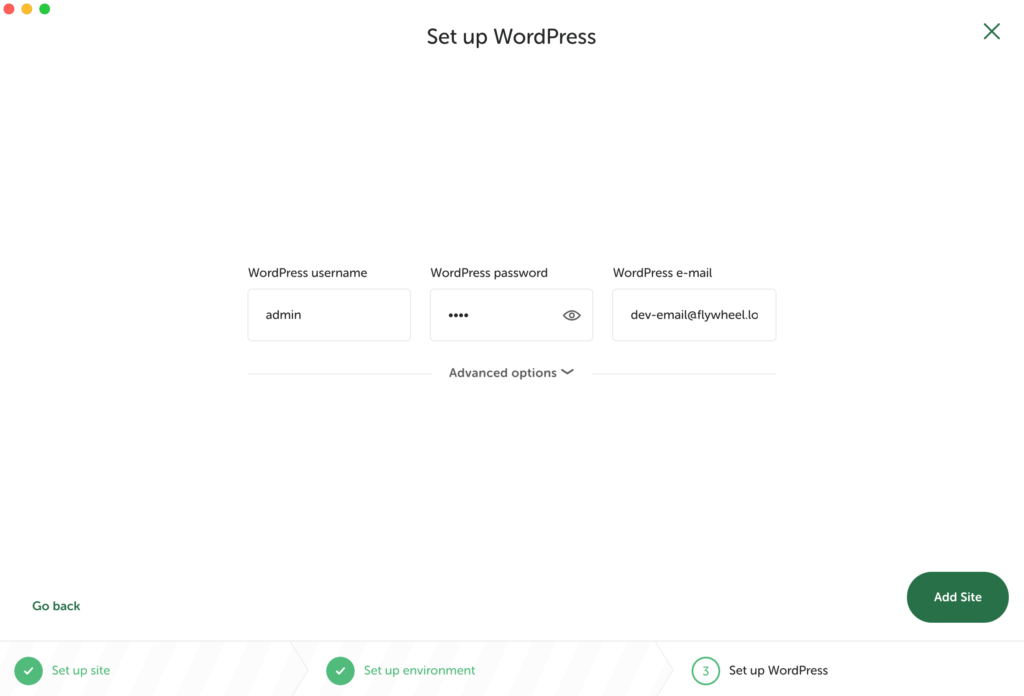
Choose a login. If your site will exclusively be used for local development you can choose an easy to remember password and leave the email as the default because Local will capture any outgoing emails from your local site anyway:
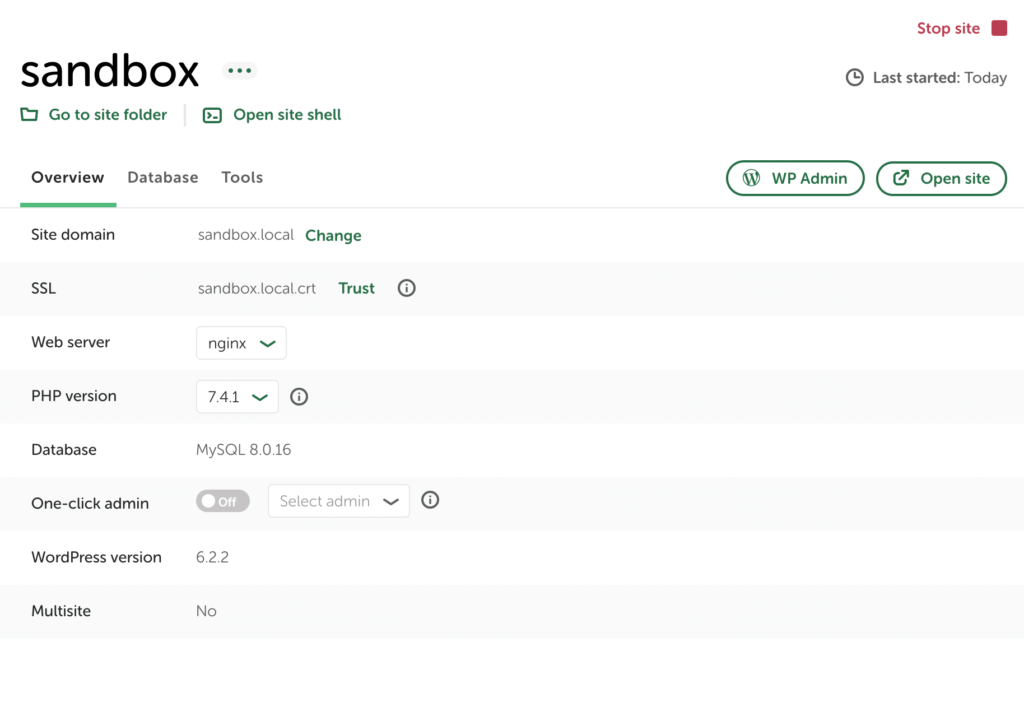
Once you click “Add Site” Local will set everything up for you (it may prompt for your password). You’ll then see your site in the dashboard where you can manage all your site settings. This also gives you quick access buttons to the wp-admin, your local site files, and the front end of site:
One thing I do want to highlight that I alluded to earlier is your site emails. If you forget your password to your local site you can use the typical WordPress reset password flow, but rather than going to your email, you can access the recovery email under the tools tab.
Local will capture all outgoing email and send it to this easy access local mailhog inbox. This applies if you are testing form notifications or anything like that as well.
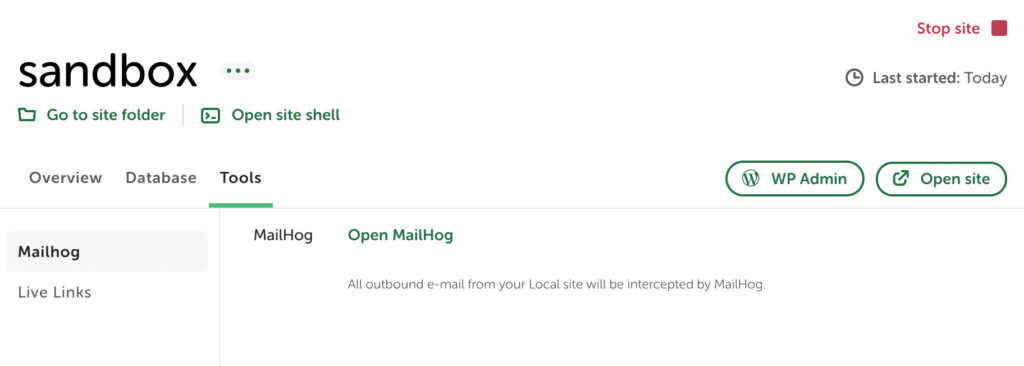
Local also provides easy access to your database directly in the “Database” tab, but we’ll cover that in later lessons, so for now you can ignore that tab unless you want to do some exploration yourself!
Wrap up
At this point your local environment is set up and you are ready to get started with the course!
I’ll be releasing modules one by one over the next few weeks, but I’ve gone ahead and released the first static block lesson alongside this post so that you can get started.
Best of luck and congratulations on beginning your journey to master custom blocks with Gutenberg!

Leave a Reply