In this lesson we will create a Carousel / Slideshow block from scratch.
We’ll actually make two blocks – one “slide” block that will hold the individual image, and another “slideshow” block that will accept the slide as an inner block. This is a really useful design pattern within the WordPress editor.
You can use structured inner block relationships like this to emulate how the repeater and flexible content fields from the Advanced Custom Fields plugin work.
We’ll use the knowledge from our last lesson on inner blocks, but go a bit farther and also explore adding custom javascript to our blocks for interactivity on the front end.
Note: This post is part of the Block Creator series. These lessons build on each other, so it is recommended to complete them in order to get the most out of the course.
You can find links to all the Block Creator lessons on the main course page. You can also download this finished code from the course Github repo in case you get stuck at any point.
Introduction
To create this block we are going to leverage the Splide.js library. You could just as easily use Slick, Swiper, or any other library and the same concepts will apply. We’ll reference the documentation as we build the block to make sure we provide the required markup and enqueue the necessary files to get things working.
Splide requires a javascript file as well as CSS. If you were using this on a production site, you likely would use the “core” css package which provides minimal styling so you can define all the styles yourself.
For this demo, we’ll use the “default” css package instead. This adds some nice basic UI styling for us, so we don’t have to worry about styling the previous/next buttons and things like that.
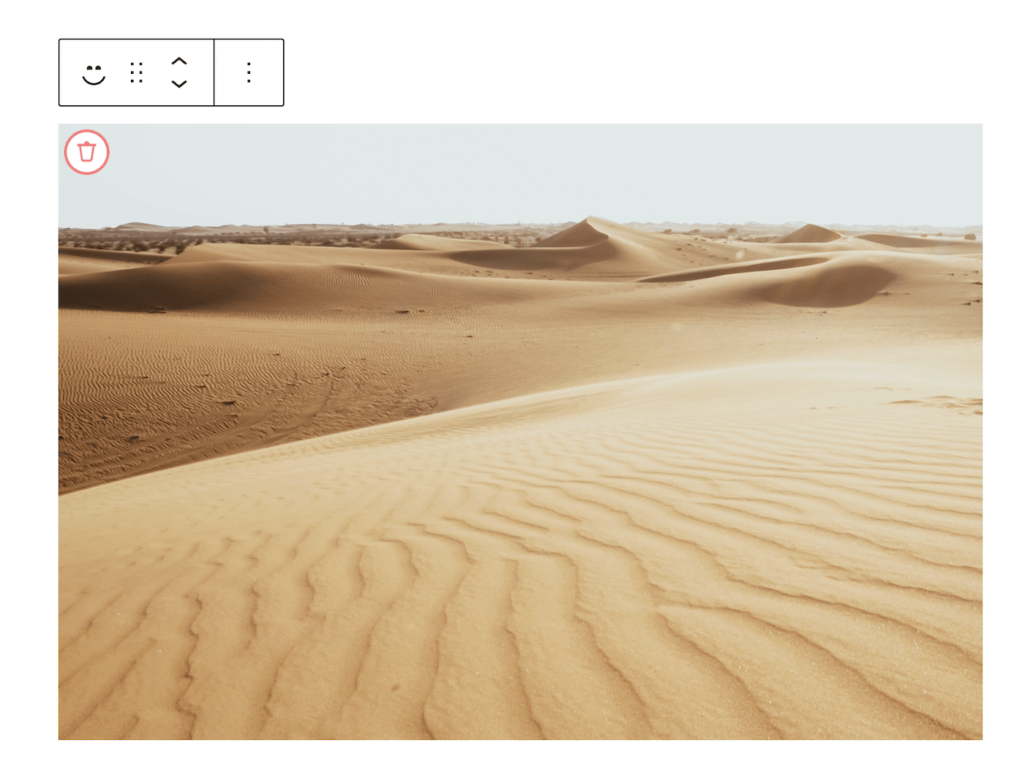
Our finished block will look like this:

Setting up our plugin
We’ll set up our plugin a little bit differently this time since we will actually be building two blocks that work together. We’ll have a single plugin containing both blocks. This will allow us to run one dev process for both blocks simultaneously.
First, use the familiar command to create a plugin with a dynamic block. I am prefixing it with “bc-slideshow” to avoid a plugin name conflict with a plain “slideshow” plugin, since that likely exists already.
npx @wordpress/create-block --variant dynamic bc-slideshowNow we’ll actually just go ahead and delete all the block files in the src folder, but leave the empty src folder in place. We are going to generate our two blocks in subdirectories within the src folder.
Go ahead and navigate inside:
cd bc-slideshow/srcNow run the following two commands to generate our two blocks that we’ll build within the src folder. By using the --no-plugin tag it tells WordPress to just generate the block files only, without all the extra plugin scaffolding:
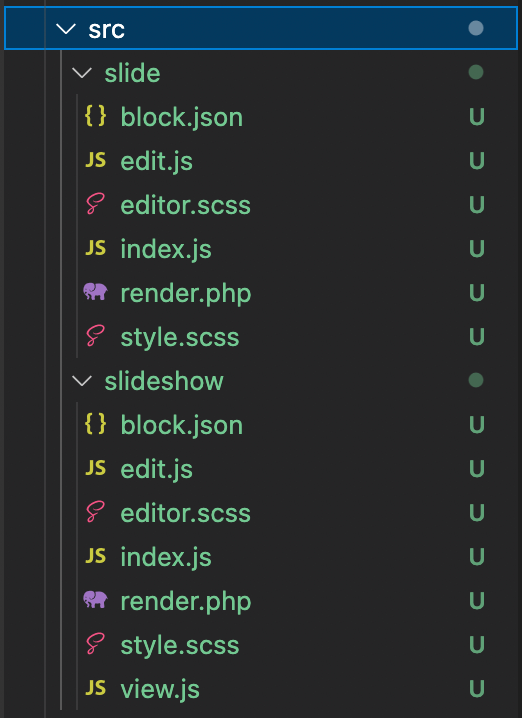
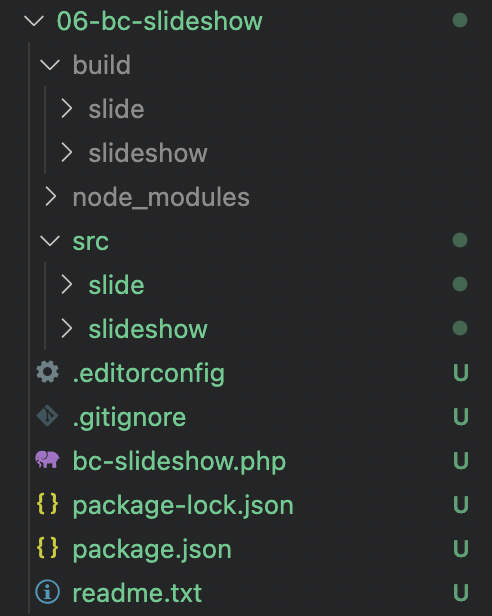
npx @wordpress/create-block --no-plugin --variant dynamic slideshownpx @wordpress/create-block --no-plugin --variant dynamic slideAt this point you should have a structure that looks like this:
Go ahead and delete the autogenerated build folder, just to make sure you have a clean slate.
You can then run npm run start. It will automatically detect the multiple block entry points within the src files and compile them each creating a mirrored structure in the build folder.
There is one last step to make sure both our blocks show up in the editor. While our build process can auto-detect the two blocks, we do need to manually register both in the main bc-slideshow.php file of our plugin:
function create_block_bc_slideshow_block_init() {
register_block_type( __DIR__ . '/build/slide' );
register_block_type( __DIR__ . '/build/slideshow' );
}
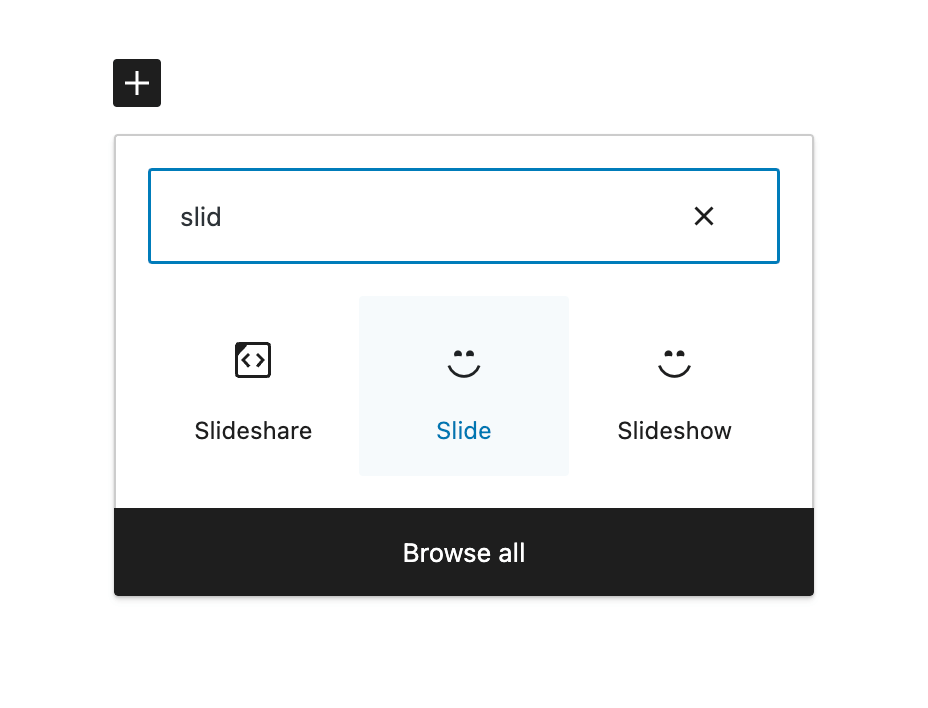
add_action( 'init', 'create_block_bc_slideshow_block_init' );Awesome. Go ahead and navigate to your dashboard, activate our new plugin, and open a fresh post in the editor. You should see both our blocks showing up.
Setting up our Slide block
We are going to start by setting up our inner slide block. This will be fairly straightforward since all it needs is an image picker element, and to display that image on the front end.
If you wanted a fancier slider, you could also add text with an image background, buttons, and more to this “slide” block. For this, we’ll just make a gallery slideshow with images to keep things focused on the carousel functionality itself.
First, make sure you are in the slide block directory (not slideshow) and empty out the default styles in the style.css and editor.css files so they do not get in the way.
Go ahead and add the following styles to your style.scss file. We are giving our images a set aspect ratio so that they will fit nicely in our slider.
// Style.scss
.wp-block-create-block-slide {
	img {
		width: 100%;
		object-fit: cover;
		aspect-ratio: 3 / 2;
	}
}
Next, we’ll add our attributes to store the image ID and URL to our block.json file:
"attributes": {
"imageURL": {
"type": "string"
},
"imageID": {
"type": "number"
}
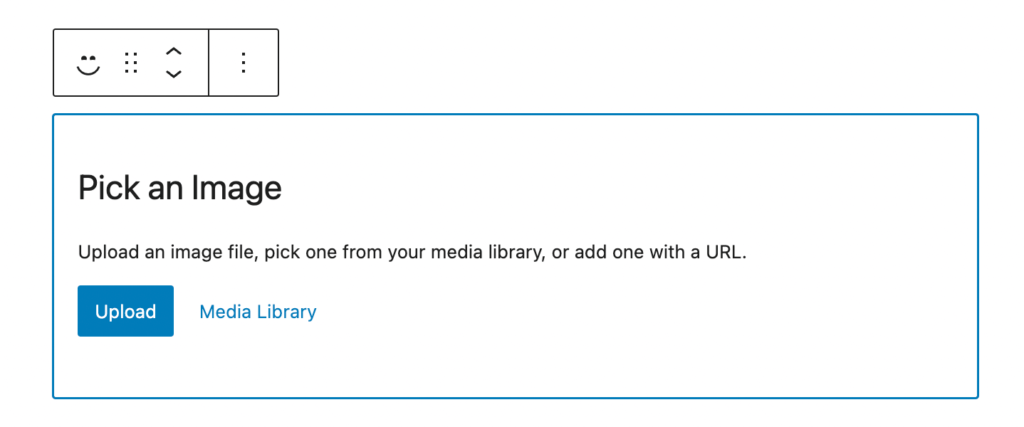
},Open up your edit.js file for the slide block. Let’s use our familiar MediaPlaceholder component that we used in Lesson 4.
import { useBlockProps, MediaPlaceholder } from '@wordpress/block-editor';

export default function Edit({attributes, setAttributes}) {

	const {imageID, imageURL} = attributes

	return (
		<div { ...useBlockProps() }>
			{!!imageID && !!imageURL ? (
				<div className='slide-image-container'>
					<img src={imageURL} />
				</div>
			):(
				<MediaPlaceholder
					onSelect = {
						( selectedImage ) => {
							setAttributes( { imageURL: selectedImage.url, imageID: selectedImage.id } );
						}
					}
					allowedTypes = { [ 'image' ] }
					multiple = { false }
					labels = { { title: 'Pick an Image' } }
				/>
			)}
		</div>
	);
}
This should look pretty familiar, if not – go ahead and review lesson 4 where we covered the media placeholder component in more detail. Basically we are rendering the placeholder component if no image has been selected, otherwise we display the image.
We also need to add an icon to allow us to remove and swap out the image if we change our minds.
WordPress has a great icon package we can use:
npm i @wordpress/iconsThen we can add the icon in with an onClick function that clears out our image attributes:
import { useBlockProps, MediaPlaceholder } from '@wordpress/block-editor';
import { Icon, trash } from '@wordpress/icons';

export default function Edit({attributes, setAttributes}) {

	const {imageID, imageURL} = attributes

	return (
		<div { ...useBlockProps() }>
			{!!imageID && !!imageURL ? (
				<div className='slide-image-container'>
					<img src={imageURL} />
					<Icon
						className='trash-icon'
						size={32}
						icon={ trash }
						onClick={() => setAttributes({imageURL: null, imageID: null})}
					/>
				</div>
			):(
				<MediaPlaceholder
					onSelect = {
						( selectedImage ) => {
							setAttributes( { imageURL: selectedImage.url, imageID: selectedImage.id } );
						}
					}
					allowedTypes = { [ 'image' ] }
					multiple = { false }
					labels = { { title: 'Pick an Image' } }
				/>
			)}
		</div>
	);
}
We also need to add some CSS to our editor.scss file to position this button nicely over our image:
.wp-block-create-block-slide {
	.slide-image-container {
		position: relative;
		width: 100%;
		height: auto;

		.trash-icon {
			box-sizing: border-box;
			background: white;
			padding: 4px;
			cursor: pointer;
			position: absolute;
			top: 4px;
			left: 4px;
			z-index: 2;
			border: 2px solid lightcoral;
			fill: lightcoral;
			border-radius: 100px;
			transition: transform 0.3s ease-in-out;

			&:hover {
				transform: scale(1.1);
			}
		}
	}
}
Beautiful. Go ahead and add an instance of the block and you should be able to select and remove an image.
Our next step is to create our render function for the frontend. We are going to borrow some specific markup from our Splide.js slider documentation:
The Splide.js docs show a slider being marked up like so:
<section class="splide">
  <div class="splide__track">
		<ul class="splide__list">
			<li class="splide__slide">Slide 01</li>
			<li class="splide__slide">Slide 02</li>
			<li class="splide__slide">Slide 03</li>
		</ul>
  </div>
</section>
We’ll borrow this structure for our render.php file and adapt it:
<li <?php echo get_block_wrapper_attributes(array("class" => "splide__slide")); ?>>
	<img src="<?php echo $attributes['imageURL'] ?>" alt="">
</li>
We are using the recommended list element for our slide and adding a Splide.js specific class so that this block will work with the slider javascript.
The surrounding <ul> and other elements will be handled by our slideshow block. Let’s set that up now.
Setting up our Slideshow block
Our inner “slide” blocks we just assembled will simply handle the content for each slide.
The parent “slideshow” block is where all the logic and our javascript will live. Let’s start building it out.
First, let’s go ahead and enable full and wide width for our “slideshow” block in the block.json file:
	"supports": {
		"html": false,
		"align": ["wide", "full"]
	},
Before we get into the javascript logic, we’ll set up our block to accept our “slide” block as an inner block. This will be very similar to our last lesson so you may want to try it yourself before continuing below.
First, let’s set up the editor.js file. Delete the starter code and set up our template and allowed blocks options:
import { useBlockProps, InnerBlocks } from '@wordpress/block-editor';

export default function Edit() {

	const ALLOWED_BLOCKS = [ 'create-block/slide' ];

	const TEMPLATE = [
    [ 'create-block/slide', {} ],
    [ 'create-block/slide', {} ]
	];

	return (
		<div { ...useBlockProps() }>
			<p>Slideshow:</p>
			<InnerBlocks allowedBlocks={ALLOWED_BLOCKS} template={TEMPLATE}  />
		</div>
	);
}
I’ve added a paragraph tag labeling our block “Slideshow” in the editor above our InnerBlocks component. This helps make it clear to editors that the inner blocks below are for the slideshow.
Go ahead and empty out both our SCSS files and then add the following CSS to our editor.scss file. This will just give our main slideshow block an outline and display the images in a grid for a better editing experience:
.wp-block-create-block-slideshow {
	border: 1px dotted black;
	padding: 12px;

	// Automatically generated div that wraps our inner blocks component
	// You can find this class by using the inspector in the editor window
	.block-editor-block-list__layout {
		display: grid;
		grid-template-columns: 1fr 1fr;
		gap: 12px;
	}
}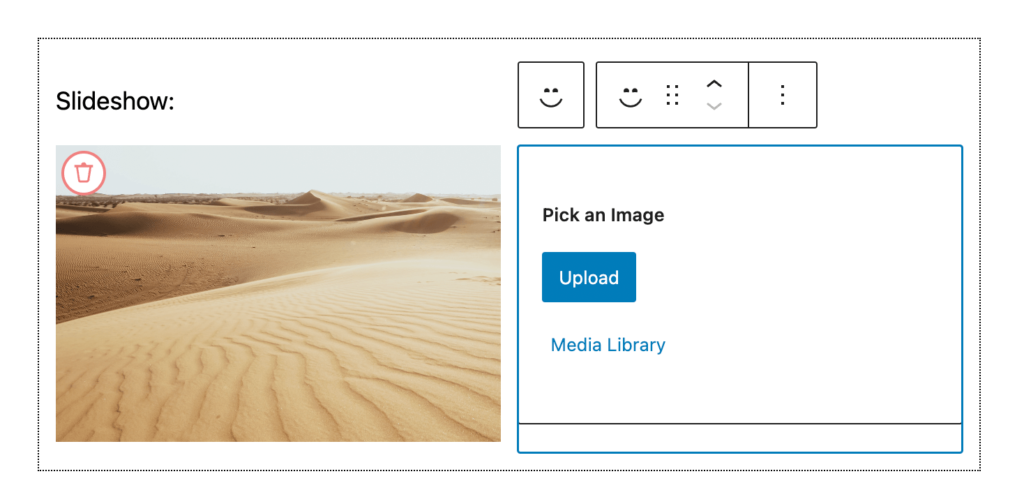
Next, we need to make sure our block can actually save the data. Remember from our last lesson that you must add a save function in the main index.js file that returns the Inner Block contents:
// Add the import
import { InnerBlocks } from '@wordpress/block-editor';

registerBlockType( metadata.name, {
	edit: Edit,
	save: () => <InnerBlocks.Content />
} );
We should now be able to add multiple “slide” blocks in the editor, move them around, and save and have them persist between page loads.
Tweaking the editor experience for our slideshow block
We can do a few quick things to improve our editing experience.
First, one issue might have been bothering you. Right now you can add a single “slide” block outside of our slider which is a bit strange and confusing for editors. Luckily there is a super simple fix.
We can go back and open up our block.json for the “slide” block (not slideshow!) and add a “parent” key, passing in our slideshow block:
{
	"$schema": "https://schemas.wp.org/trunk/block.json",
	"apiVersion": 3,
	"name": "create-block/slide",
	"version": "0.1.0",
	"title": "Slide",
	"category": "widgets",
	"icon": "smiley",
	"description": "Example block scaffolded with Create Block tool.",
	"supports": {
		"html": false
	},
	"attributes": {
		"imageURL": {
			"type": "string"
		},
		"imageID": {
			"type": "number"
		}
	},
	"parent": ["create-block/slideshow"],
	"textdomain": "slide",
	"editorScript": "file:./index.js",
	"editorStyle": "file:./index.css",
	"style": "file:./style-index.css",
	"render": "file:./render.php"
}
This will restrict the slide block to only be allowed inside of a slideshow block. Using this “parent” property on the child and the “allowedBlocks” property on the parent is what allows to create really powerful 2-way structured block relationships.
Next, a very minor change just for our UI:
Back in our slideshow block, we can add the following additional setting to our InnerBlocks component in the editor.js file:
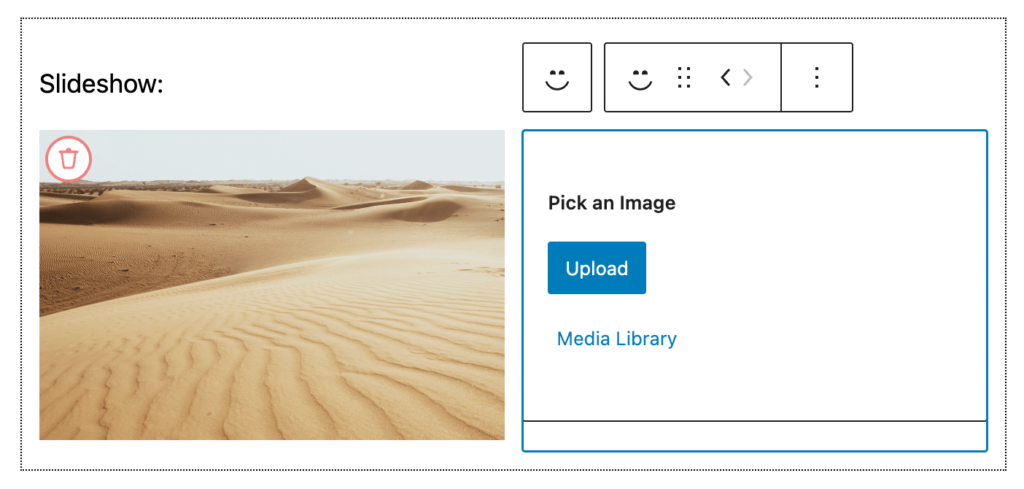
<InnerBlocks allowedBlocks={ALLOWED_BLOCKS} template={TEMPLATE} orientation="horizontal" />This “orientation” setting does not affect the layout of the blocks, but simply changes the direction of the UI arrows to arrange blocks. For a slider I think sideways is more intuitive than up/down.
Rendering our slideshow block
Finally, we want to set up our render template. We need our render template to match the markup required for our slider library.
We’ll just grab the standard setup from the documentation and plug in the $content variable where the individual slides go to output our inner blocks:
<div <?php echo get_block_wrapper_attributes(); ?>>
	<section class="splide">
		<div class="splide__track">
			<ul class="splide__list">
				<?php echo $content; ?>
			</ul>
		</div>
	</section>
</div>
Now we have our full inner block setup working and our basic html marked up for the front end. Let’s wire up the javascript!
Adding custom javascript to our slideshow block
There are a couple steps to get everything set up for our slideshow to work properly. First let’s go ahead and install the Splide.js package:
npm install @splidejs/splideNext, we need a custom javascript file to put our slider logic in.
We only want our slider javascript to run on the front end of the site. If it ran in the editor, we would have a strange editing experience trying to see all the images and manage them within an interactive slider element.
Course Update
The latest version of @wordpress/create-block already creates a script specifically for the front end only for us!
That’s great news, but I went ahead and left the instructions in place below in case you are using an old version, or are just curious about how to do it yourself.
If your block folder contains a view.js file, feel free to use that instead of the frontend.js file we manually create below – it will already be enqueued for you.
Let’s create a javascript file called frontend.js. We can add the following code. Again, this is straight from the Splide.js documentation:
import Splide from '@splidejs/splide';

// Import our default css theme for splide
import '@splidejs/splide/css';

// This should only be output on the frontend of the site - NOT the editor
console.log("hello from the frontend.")

document.addEventListener( 'DOMContentLoaded', () => {

  // Splide
  const splides = document.querySelectorAll('.splide')

  if(!!splides && splides.length > 0){
    splides.forEach(splide => {
      new Splide(splide, {type: 'loop', autoplay: true, perPage: 1, pauseOnHover: false}).mount()
    })
  }
})
Enqueueing our assets
Great. Now we need to tell WordPress to enqueue this file, but ONLY on the front end. We can do this by adding a “viewScript” entry to our block.json:
{
	"$schema": "https://schemas.wp.org/trunk/block.json",
	"apiVersion": 3,
	"name": "create-block/slideshow",
	"version": "0.1.0",
	"title": "Slideshow",
	"category": "widgets",
	"icon": "smiley",
	"description": "Example block scaffolded with Create Block tool.",
	"supports": {
		"html": false,
		"align": ["wide", "full"]
	},
	"textdomain": "slideshow",
	"editorScript": "file:./index.js",
	"editorStyle": "file:./index.css",
	"style": "file:./style-index.css",
	"viewScript": "file:./frontend.js",
	"render": "file:./render.php"
}
At this point, you might have to stop/restart your dev server to get it to pick up the new javascript file. Once it runs though, you should see both a frontend.js and frontend.css file output in the build folder.
@wordpress/scripts takes care of extracting the Splide CSS we imported into our frontend.js file for us – pretty nifty!
That said, we do need to explicitly tell WordPress to enqueue this CSS as well. We’ll add it to the “style” key in block.json – passing an array instead of just a string:
Course Update
If you are on the new version and using the view.js script, be sure to use [file:./view.css] below instead of frontend.
"style": ["file:./style-index.css", "file:./frontend.css"],Once again you may need to just stop/restart the dev server when making these enqueueing changes in the block.json file to get things to refresh.
Go ahead and build out a slideshow on your test page, publish the page, and check out the front end:
You should see an interactive slider on the page! You can configure it however you like by changing the configuration options we passed in the javascript file.
This is a great accomplishment and now our main goal for the lesson is complete!
As usual, let’s go just a tiny bit further for demo purposes.
What if we want our editors to be able to control some slider options themselves? We can add attributes and controls in our sidebar to accomplish this. Then we can pass the options into our block javascript. Let’s see how this is done in the next section.
Adding our custom control
For the sake of this demo, let’s add a range slider to control the how long each slide of the carousel is displayed. We could add other options for # of slides to show, whether to fade / slide, and much more as well. The basic implementation will be the same.
First, we need to add an attribute to save this option to our slideshow block:
	"attributes": {
		"interval": {
			"type": "number",
			"default": 3
		}
	},
We are going to call it “interval” because that is the name Splide.js uses for this option. Some other libraries call it duration or speed. Check the documentation for whatever library you use to make it less confusing for yourself!
Next, we need to add a control. We’ll add this to the sidebar using the InspectorControls component from Gutenberg.
import { useBlockProps, InnerBlocks, InspectorControls } from '@wordpress/block-editor';
import {PanelBody, RangeControl } from '@wordpress/components'
export default function Edit({attributes, setAttributes}) {
const ALLOWED_BLOCKS = [ 'create-block/slide' ];
const TEMPLATE = [
[ 'create-block/slide', {} ],
[ 'create-block/slide', {} ]
];
return (
<>
<div { ...useBlockProps() }>
<p>Slideshow:</p>
<InnerBlocks allowedBlocks={ALLOWED_BLOCKS} template={TEMPLATE} orientation="horizontal" />
</div>
<InspectorControls>
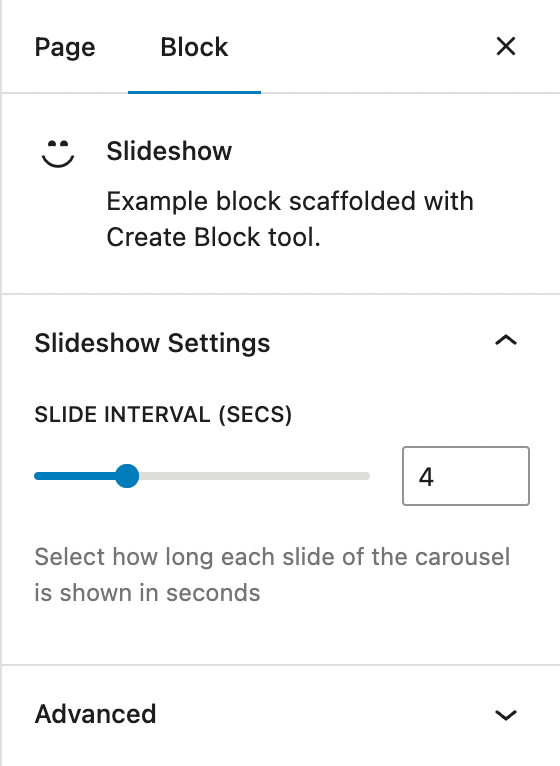
<PanelBody title="Slideshow Settings">
<RangeControl
label="Slide Interval (secs)"
help="Select how long each slide of the carousel is shown in seconds"
max={12}
min={1}
step={1}
value={attributes.interval}
onChange={(val) => { setAttributes({interval: val})}}
/>
</PanelBody>
</InspectorControls>
</>
);
}
If you need a refresher, check out this lesson where we covered the sidebar in more detail.
We are using a new RangeControl component that WordPress provides, but it should look pretty familiar to the native range control html element. Then we just add our normal attribute/onChange logic as well.
We should now be able to use the sidebar to select a speed for our slider:
Now comes the interesting part. How do we get this option into our javascript file to modify the slider options?
Passing data to our block javascript
As of now, the easiest way to do this is fairly old school. We are going to jump into our render template and add a data attribute to the slider itself:
<div <?php echo get_block_wrapper_attributes(); ?>>

	<div class="splide" data-interval="<?php echo $attributes["interval"] ?>">
		<div class="splide__track">
			<ul class="splide__list">
				<?php echo $content; ?>
			</ul>
		</div>
	</div>

</div>
Now we can just grab this attribute in our frontend.js file where we initialize the slider, and pass it into our initialization function:
document.addEventListener( 'DOMContentLoaded', () => {

  // Splide
  const splides = document.querySelectorAll('.splide')

  if(!!splides && splides.length > 0){
    splides.forEach(splide => {

      // Grab the slide interval and convert it to an integer and milliseconds or fallback to 3000ms
      const interval = parseInt(splide.dataset.interval) * 1000 || 3000

      new Splide(splide, {type: 'loop', autoplay: true, perPage: 1, pauseOnHover: false, interval: interval}).mount()
    })
  }
})
Boom. Now we can control the speed of the slider simply through the editor! Go ahead and test it out with a few values to make sure everything is working.
Note: In this case, there is actually an alternate way as well, because Splide.js supports options passed as an object into data-splide like so:
data-splide='{"interval": <?php echo $attributes["interval"] * 1000 ?>}'You don’t even need to pull them out in javascript, it will just auto-detect them when the slider is initialized.
That said, I wanted to show the full approach since often you may need to actually access the value manually within your javascript. Not all libraries will support data attribute configuration like this, and manually grabbing values is flexible for when you are doing something custom as well.
Wrap up
Congratulations!
This opens the door to a lot of more complex block structures. The same parent/child relationship pattern (+ optional javascript) we used here would apply for things like accordion sections, tabs, and even creating things like a team grid with modals.
Now that we’ve touched on creating multiple blocks in a single plugin, in the next lesson we are going to take a brief break from creating blocks to dive into customizations that will allow you to nicely package a library of blocks within a single plugin for your clients.
We’ll apply custom name spacing, icons, and preview images to our blocks, and also create our own block category within the sidebar to make it easy for clients to build out pages with our block toolkit.
I’m excited for this next lesson. We’ll really look at how to apply the skills from the last few modules to create a polished editor experience.

Leave a Reply